
Published by AI Garden · · 7 min read
How to Design a Raised Garden From a Photo in 2026
Learn how to design a raised garden from a photo using AI tools in 2026. Visualize layouts, avoid mistakes, and plan your perfect backyard harvest.

Why You Should Design a Raised Garden From a Photo First
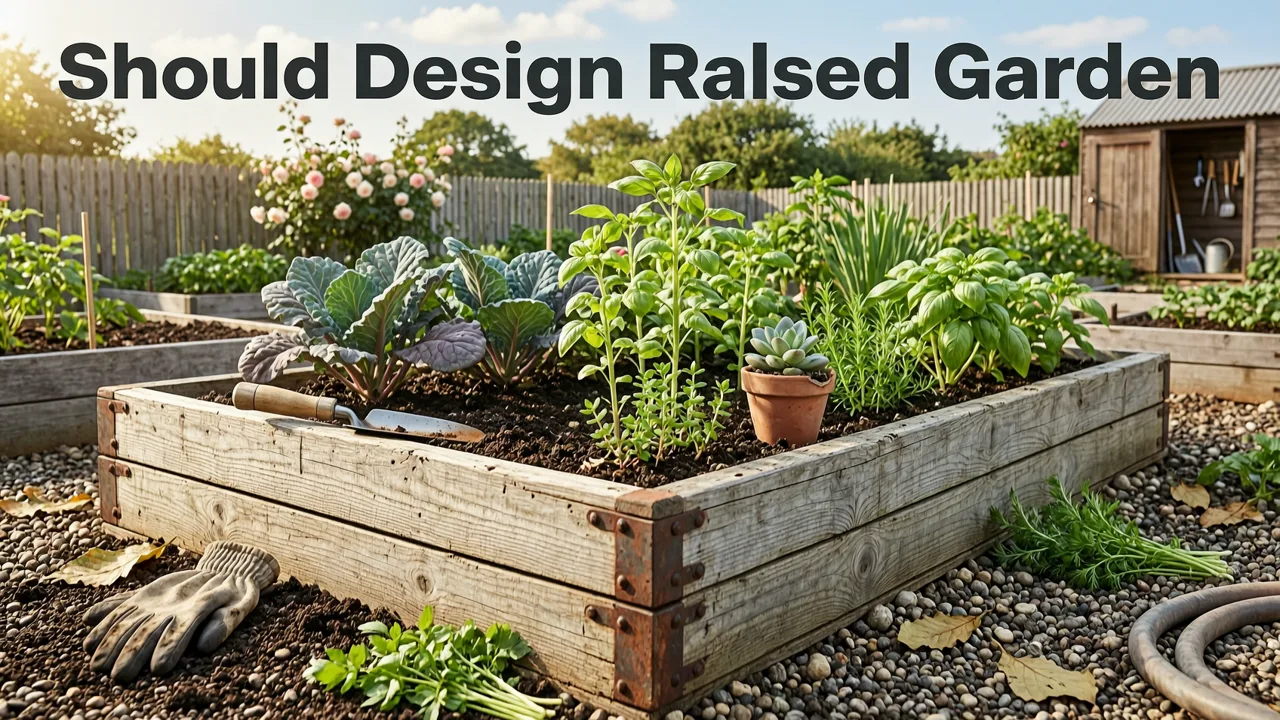
Staring at an empty patch of dirt makes it nearly impossible to visualize a thriving, productive raised bed layout. The most effective way to bridge the gap between imagination and reality is to design a raised garden from a photo using AI-powered visualization tools. By uploading a simple picture of your yard, you can instantly generate realistic landscape concepts, test different plant arrangements, and avoid costly planting mistakes before breaking ground.
Traditional garden planning relies heavily on abstract sketching and mental math. You draw a rectangle on graph paper, estimate the spacing, and hope the mature plants do not overcrowd each other. Modern AI landscape design eliminates this guesswork. Advanced image generation models now understand spatial geometry, sunlight angles, and plant maturity, allowing you to see exactly how a cedar raised bed will look against your existing fence or how a trellis will integrate with your patio.
The technology powering these visualizations relies on complex neural networks that analyze depth, perspective, and environmental context. As detailed in the OpenAI documentation, these models are trained to maintain structural integrity when modifying existing images, meaning your generated garden designs will respect the physical boundaries of your actual property. This ensures that the visual concepts you create are not just beautiful, but practically executable.
Step-by-Step Guide to Design a Raised Garden From a Photo
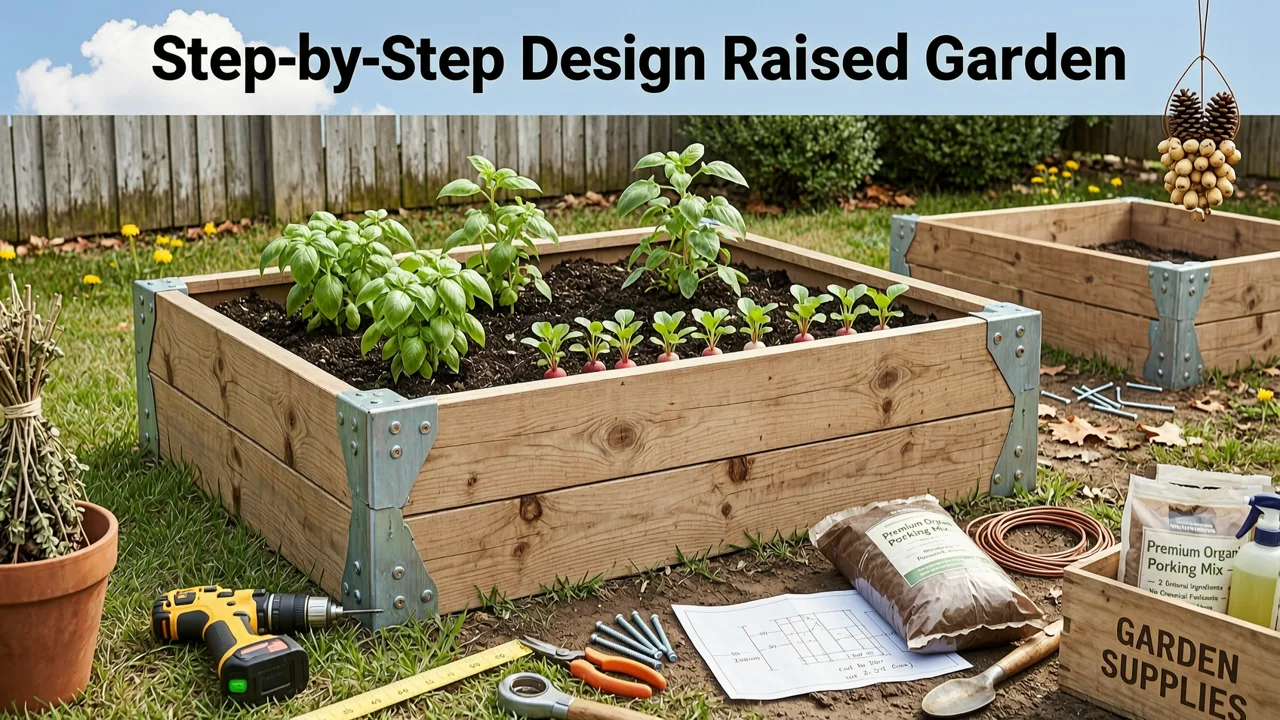
Executing a successful virtual makeover requires a structured approach. Follow these steps to transform a basic snapshot into a comprehensive, actionable landscape plan.
Step 1: Capture the Baseline Image
The quality of your final design is directly tied to the quality of your input photo. Take your picture during the day when natural light is abundant, ideally during the golden hour or on a slightly overcast day to avoid harsh shadows. Ensure the area you want to modify is clear of temporary clutter like toys, hoses, or trash bins.
Shoot from a low angle, roughly at the height where the raised beds will sit. This perspective helps the AI understand the ground plane and the relationship between the soil level and surrounding structures. If you are planning multiple beds in different areas of the yard, take separate, well-framed photos for each specific zone.
Step 2: Select Your AI Design Style and Dimensions
Once your photo is uploaded to an AI garden planner, you will need to define the aesthetic and structural parameters. Choose a design style that complements your home's architecture. Popular options for raised gardens include modern minimalist (clean lines, composite materials), rustic cottage (natural wood, overflowing edges), and formal geometric (precise angles, structured hardscaping).
Next, define the physical dimensions of your raised beds. Standard widths for accessible raised beds are typically three to four feet, allowing you to reach the center without stepping on the soil. Inputting these dimensions into the AI tool helps the software generate proportionally accurate renderings, ensuring the beds do not overwhelm your patio or block essential walkways.
Step 3: Refine Plant Selections and Hardscape Features
With the basic structure in place, it is time to populate your design. AI tools allow you to specify plant types, from leafy greens and root vegetables to ornamental flowers and climbing vines. The software will arrange these selections according to horticultural best practices, placing taller plants like tomatoes or trellised beans at the back or center, and shorter crops like lettuce or radishes at the front.
Use this stage to add hardscape features such as drip irrigation lines, pathway materials, and lighting. Iterating on these details in a virtual environment allows you to compare different design directions rapidly. You can generate multiple variations of the same space, swapping out wood finishes or plant palettes until you find the perfect combination.
Key Features to Look for in an AI Garden Planner
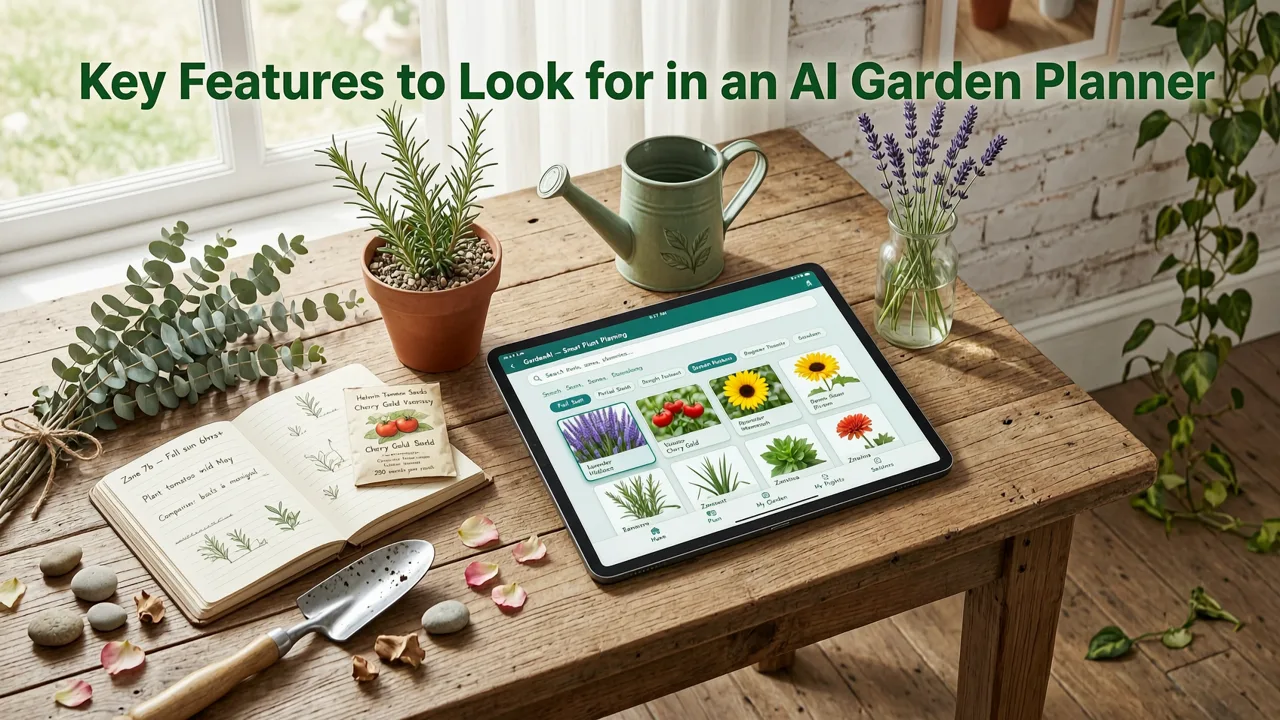
Not all visualization tools are created equal. When selecting a platform to design a raised garden from a photo, prioritize software that offers specific, garden-focused capabilities rather than generic image editors.
- Spatial Awareness: The tool must understand depth and perspective so that generated beds align correctly with your existing fences, walls, and slopes.
- Horticultural Accuracy: The best planners integrate plant databases that respect spacing requirements, companion planting principles, and sunlight needs.
- Style Transfer: Look for tools that allow you to apply specific aesthetic themes, ensuring the raised beds match your home's exterior design.
- Iterative Refinement: You should be able to tweak individual elements, like changing a wooden bed to a stone one, without regenerating the entire image.
For a deeper dive into the specific capabilities you should expect from top-tier software, review our guide on the Best AI Raised Garden Planner for 2026. Additionally, when using any AI tool for property planning, it is wise to follow Google AI guidance regarding responsible use, ensuring you treat generated concepts as starting points rather than absolute structural blueprints.
Common Mistakes to Avoid When Planning Raised Beds
Even with advanced visualization, certain planning errors can undermine your garden's success. Being aware of these pitfalls will help you use your AI tools more effectively.
Ignoring Sun Paths: A beautiful rendering means little if the space is in deep shade. Always cross-reference your AI-generated layout with the actual sunlight patterns in your yard. Observe the space at different times of day before finalizing plant selections in the software.
Overcrowding Visuals: AI image generators sometimes prioritize lush, full aesthetics over horticultural reality. They may render mature plants too close together. Always verify the generated plant spacing against actual seed packet or nursery tag recommendations.
Neglecting Soil Volume: Visual tools focus on the surface. Remember that raised beds require significant soil volume to support deep-rooted crops. Ensure your design accounts for the physical weight and cost of filling the beds with high-quality soil and compost.
Blocking Access: Ensure your virtual layout leaves adequate space between beds for wheelbarrows, kneeling pads, and comfortable harvesting. Aisles should be at least 18 to 24 inches wide for small spaces, and up to 36 inches for larger setups.
Comparing Raised Garden Layouts for Different Spaces
The scale of your property dictates the approach you should take when designing your layout. Use the table below to understand how to adapt your AI prompts and design strategies based on your available space.
| Space Type | Recommended Bed Dimensions | Best AI Design Focus | Planting Strategy |
|---|---|---|---|
| Small Balcony or Patio | 2x4 ft or modular containers | Vertical integration, railing planters, lightweight materials | Compact herbs, dwarf varieties, trailing edibles |
| Standard Backyard | 4x8 ft or 4x4 ft square foot beds | Pathway flow, mixed ornamental and edible borders | Crop rotation zones, companion planting blocks |
| Large Estate or Homestead | 4x10 ft or long continuous rows | Large-scale hardscaping, irrigation grids, tool sheds | High-yield rows, perennial fruit borders, greenhouse integration |
Maximizing Your Outdoor Space with AI Visualization
If you are working with limited square footage, AI visualization becomes even more critical. Small spaces require precise planning to ensure every inch is productive. By uploading a photo of a cramped patio or narrow side yard, you can experiment with vertical growing structures, hanging baskets, and tiered raised beds.
The AI can help you visualize how a vertical trellis might provide privacy while simultaneously supporting climbing beans or cucumbers. If you are working with limited square footage, exploring Backyard Redesign Ideas for Small Spaces can provide additional inspiration for vertical and compact layouts that maximize yield without sacrificing aesthetics.
Conclusion and Next Steps
Learning how to design a raised garden from a photo transforms the planning process from a stressful guessing game into an exciting, visual journey. By leveraging AI landscape design tools, you can confidently explore layouts, refine plant selections, and ensure your hardscape elements harmonize with your existing property. This proactive approach saves time, reduces material waste, and sets the foundation for a highly productive growing season.
Ready to see your ideas come to life? Upload a photo of your backyard, patio, or front yard to the AI Garden webapp today. Choose your preferred style, experiment with different raised bed configurations, and preview your perfect outdoor harvest before you ever pick up a shovel.
Related posts

2026-11-11
Best AI Raised Garden Planner for 2026: Visualize Before You Build
Find the best ai raised garden planner for 2026. See how AI turns yard photos into realistic raised bed layouts, saving time and preventing costly mistakes.

2026-10-24
Garden Plans From Picture: The 2026 Visual Guide
Discover how to generate accurate garden plans from picture uploads using AI. Visualize your backyard makeover, avoid planting mistakes, and plan perfectly.

2026-10-20
Upload Photo to Design Backyard: The 2026 AI Planning Guide
Upload photo to design backyard layouts instantly with AI. See realistic plant placements, compare styles, and avoid costly landscaping mistakes before you dig.
Next steps
To see ideas like these on your own space, upload a photo to AI Garden, the AI garden design app for iPhone and iPad. Or browse all garden planning guides.